How to print your files
So you’ve purchased a digital file and now you need to print! The best part is, there are lots of options and you can save money on shipping by printing locally. However, we know it can be a little daunting if you haven’t done it before. We often get asked for suggestions on the best places to print, what types of paper to print on and about various print settings. Below you will find answers to those questions as well as some other tips and tricks to get the best results.
Home printing
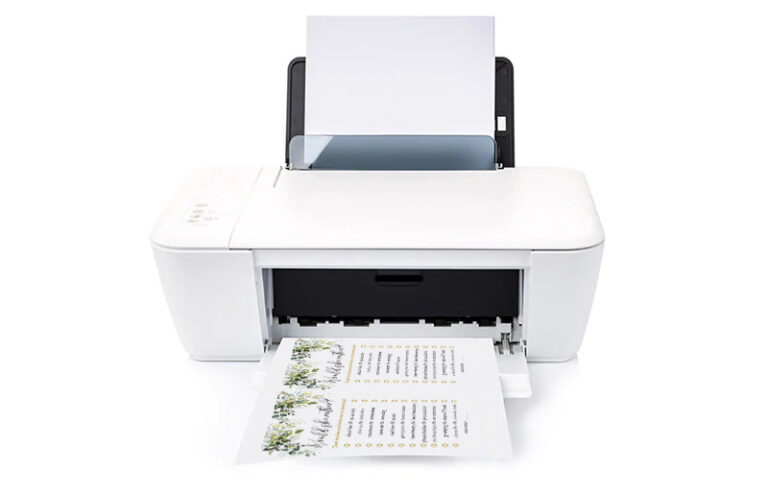
If you have a color printer at home, this is a great option that will save you money and produce great results (depending on the quality of your printer). We recommend doing a test print to see if you’re happy with the results. Our files that come with multiple designs on an 8.5″ x 11″ letter-sized page are ideal for printing at home. You will however need to trim them yourself once they’re printed.
1. Choose your paper. This will depend on what you’re printing. For anything that needs a heavier weighted paper like invitations and tags you’ll need a bright white card stock. For creating stickers or labels you can use full-sized sticker project paper or regular paper if you plan on using an adhesive. For prints you plan on framing, a regular bright white paper will suit. Please make sure you choose paper or card stock that is suited for the type of printer you have: ink jet or laser.
2. Print from Adobe Acrobat Reader if you’re printing one of our editable files. To do this, please open Adobe Reader and go to File > Print. Please note that the blue highlighting you see on screen when editing will not print. It is only there to show you the editable areas.
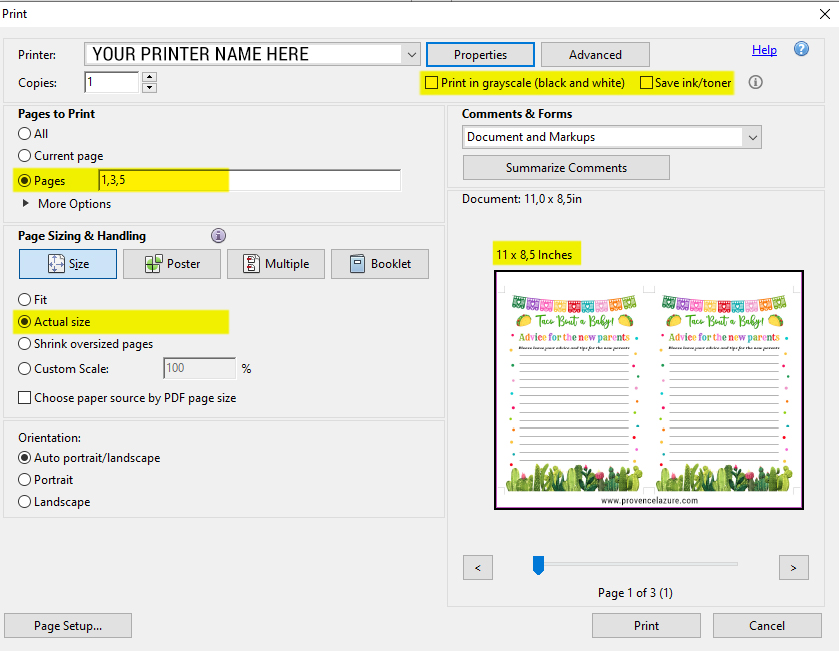
3. Adjust your print settings. Once you select print, a print dialogue box will open up and there are some important settings here (see highlighted areas in the photo below).

- For best quality, please deselect the “save ink/toner” box and the “print in grayscale” box.
- Choose which pages you’d like to print. If you’d only like to print certain pages you can type in which ones you would like separated by commas (1,3,5) or (1-4,6).
- Please always print at 100% (actual size), all of our files are designed with printer settings in mind and do not need to be “Fit” to the page or shrunk.
- We recommend printing on a white matte card stock (110 lb or more) as it signifies a mark of quality.

PRINTING ONLINE
If you feel like your printer is not up for the job of printing your party stationery, or if you’re looking for a way to print large signs, you can order your prints at a local copy shop or online print shop. These shops will let you send or upload your JPG-file to their site, select a paper stock and simply pick up the print-outs in 1-2 days or have the stationery delivered to your home.
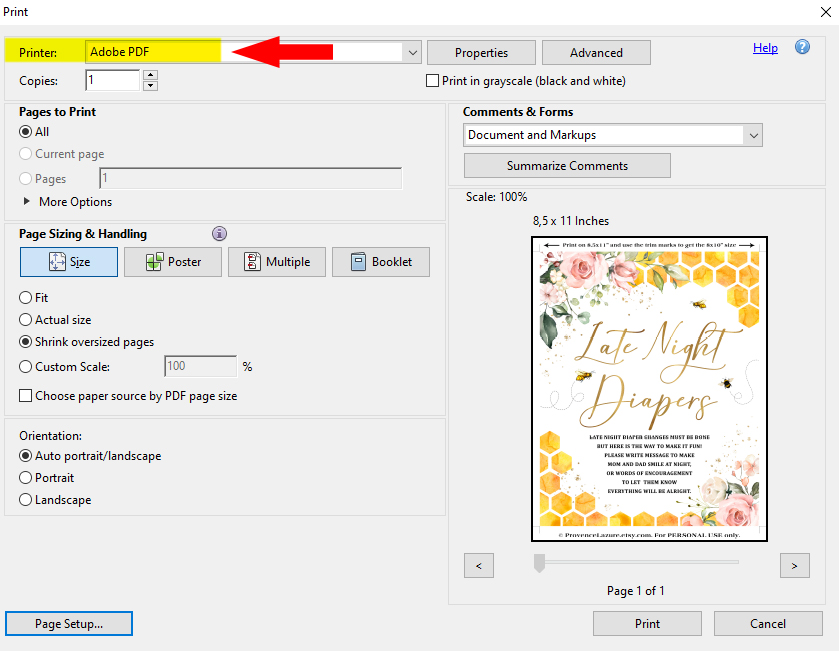
Before you choose where to print you’ll first need to convert your editable PDFs to a flattened PDF file (if your file is not editable you can skip this step). To do this please go to File > Print and in the print dialogue box instead of choosing your printer, choose “Adobe PDF” instead (see image below) then hit print. Another box will appear onscreen (or in your taskbar) asking you where you’d like to save your file. Make your selection and hit save. This will give you a high quality, flattened PDF file you can load onto any website for online printing.

If your website needs a JPG file please upload your file for free here and follow the steps on the screen to receive a flattened JPG file. Please note that for larger files like our welcome signs this may not be a high enough quality and we recommend following the steps above.
Now that you have your non-editable, flattened files you can upload them to the online site of your choice. Some great options that allow you to upload your own designs include Staples, Vistaprint, Costco, OfficeMax, and Shutterfly.
HOW TO TRIM YOUR FILES
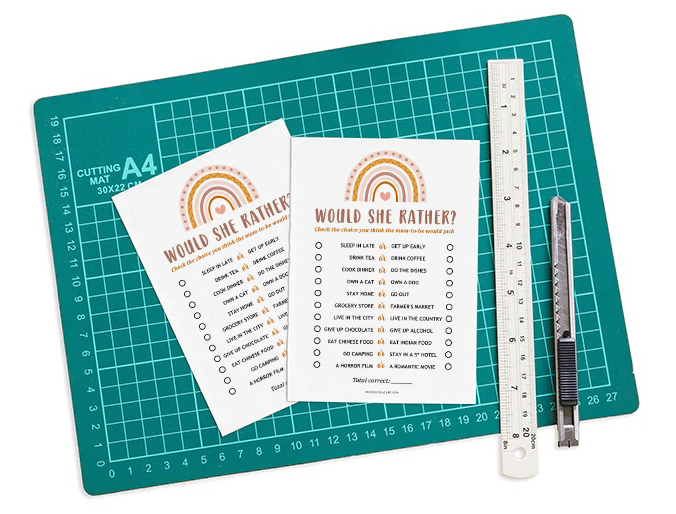
Your files are printed now it’s time to trim them! All of our templates include crop marks (also known as trim marks) to help you trim your stationery to the correct size. We recommend you use either an X-ACTO knife with a cutting mat or a paper trimmer. You can use scissors but they will not give you the best result and will be more time consuming.
For this method you will need an X-Acto knife, ruler and cutting mat. Please make sure your blade is sharp and a ruler with a non-slip grip on the bottom is recommended. The cutting mat is to protect your surface area.
Place your stationery on the cutting surface. Line up a ruler with each set of crop marks and slide the knife along the edge of the ruler to make your cuts. Watch that your fingers don’t go over the edge of the ruler! DO NOT cut to the edge of the paper so you can keep all the crop marks in place until all cuts have been made.
PAPER TRIMMER METHOD
A side blade paper trimmer is recommended. You will need to line your crop marks up in the cutting area of your trimmer. Slide the blade from one crop mark to the next without going to the edge of the paper. This will keep all the crop marks in place until all cuts have been made.
